
A cracked or scratched iPhone camera lens can turn your photos from clear to cloudy in seconds. Since the camera is one of the most-used features, damage to the lens can be frustrating. The good news? Depending on the severity, you might be able to handle some simple fixes at home before visiting a repair shop.
This guide walks you through practical steps to assess, clean, and if necessary, get your iPhone camera lens professionally repaired.
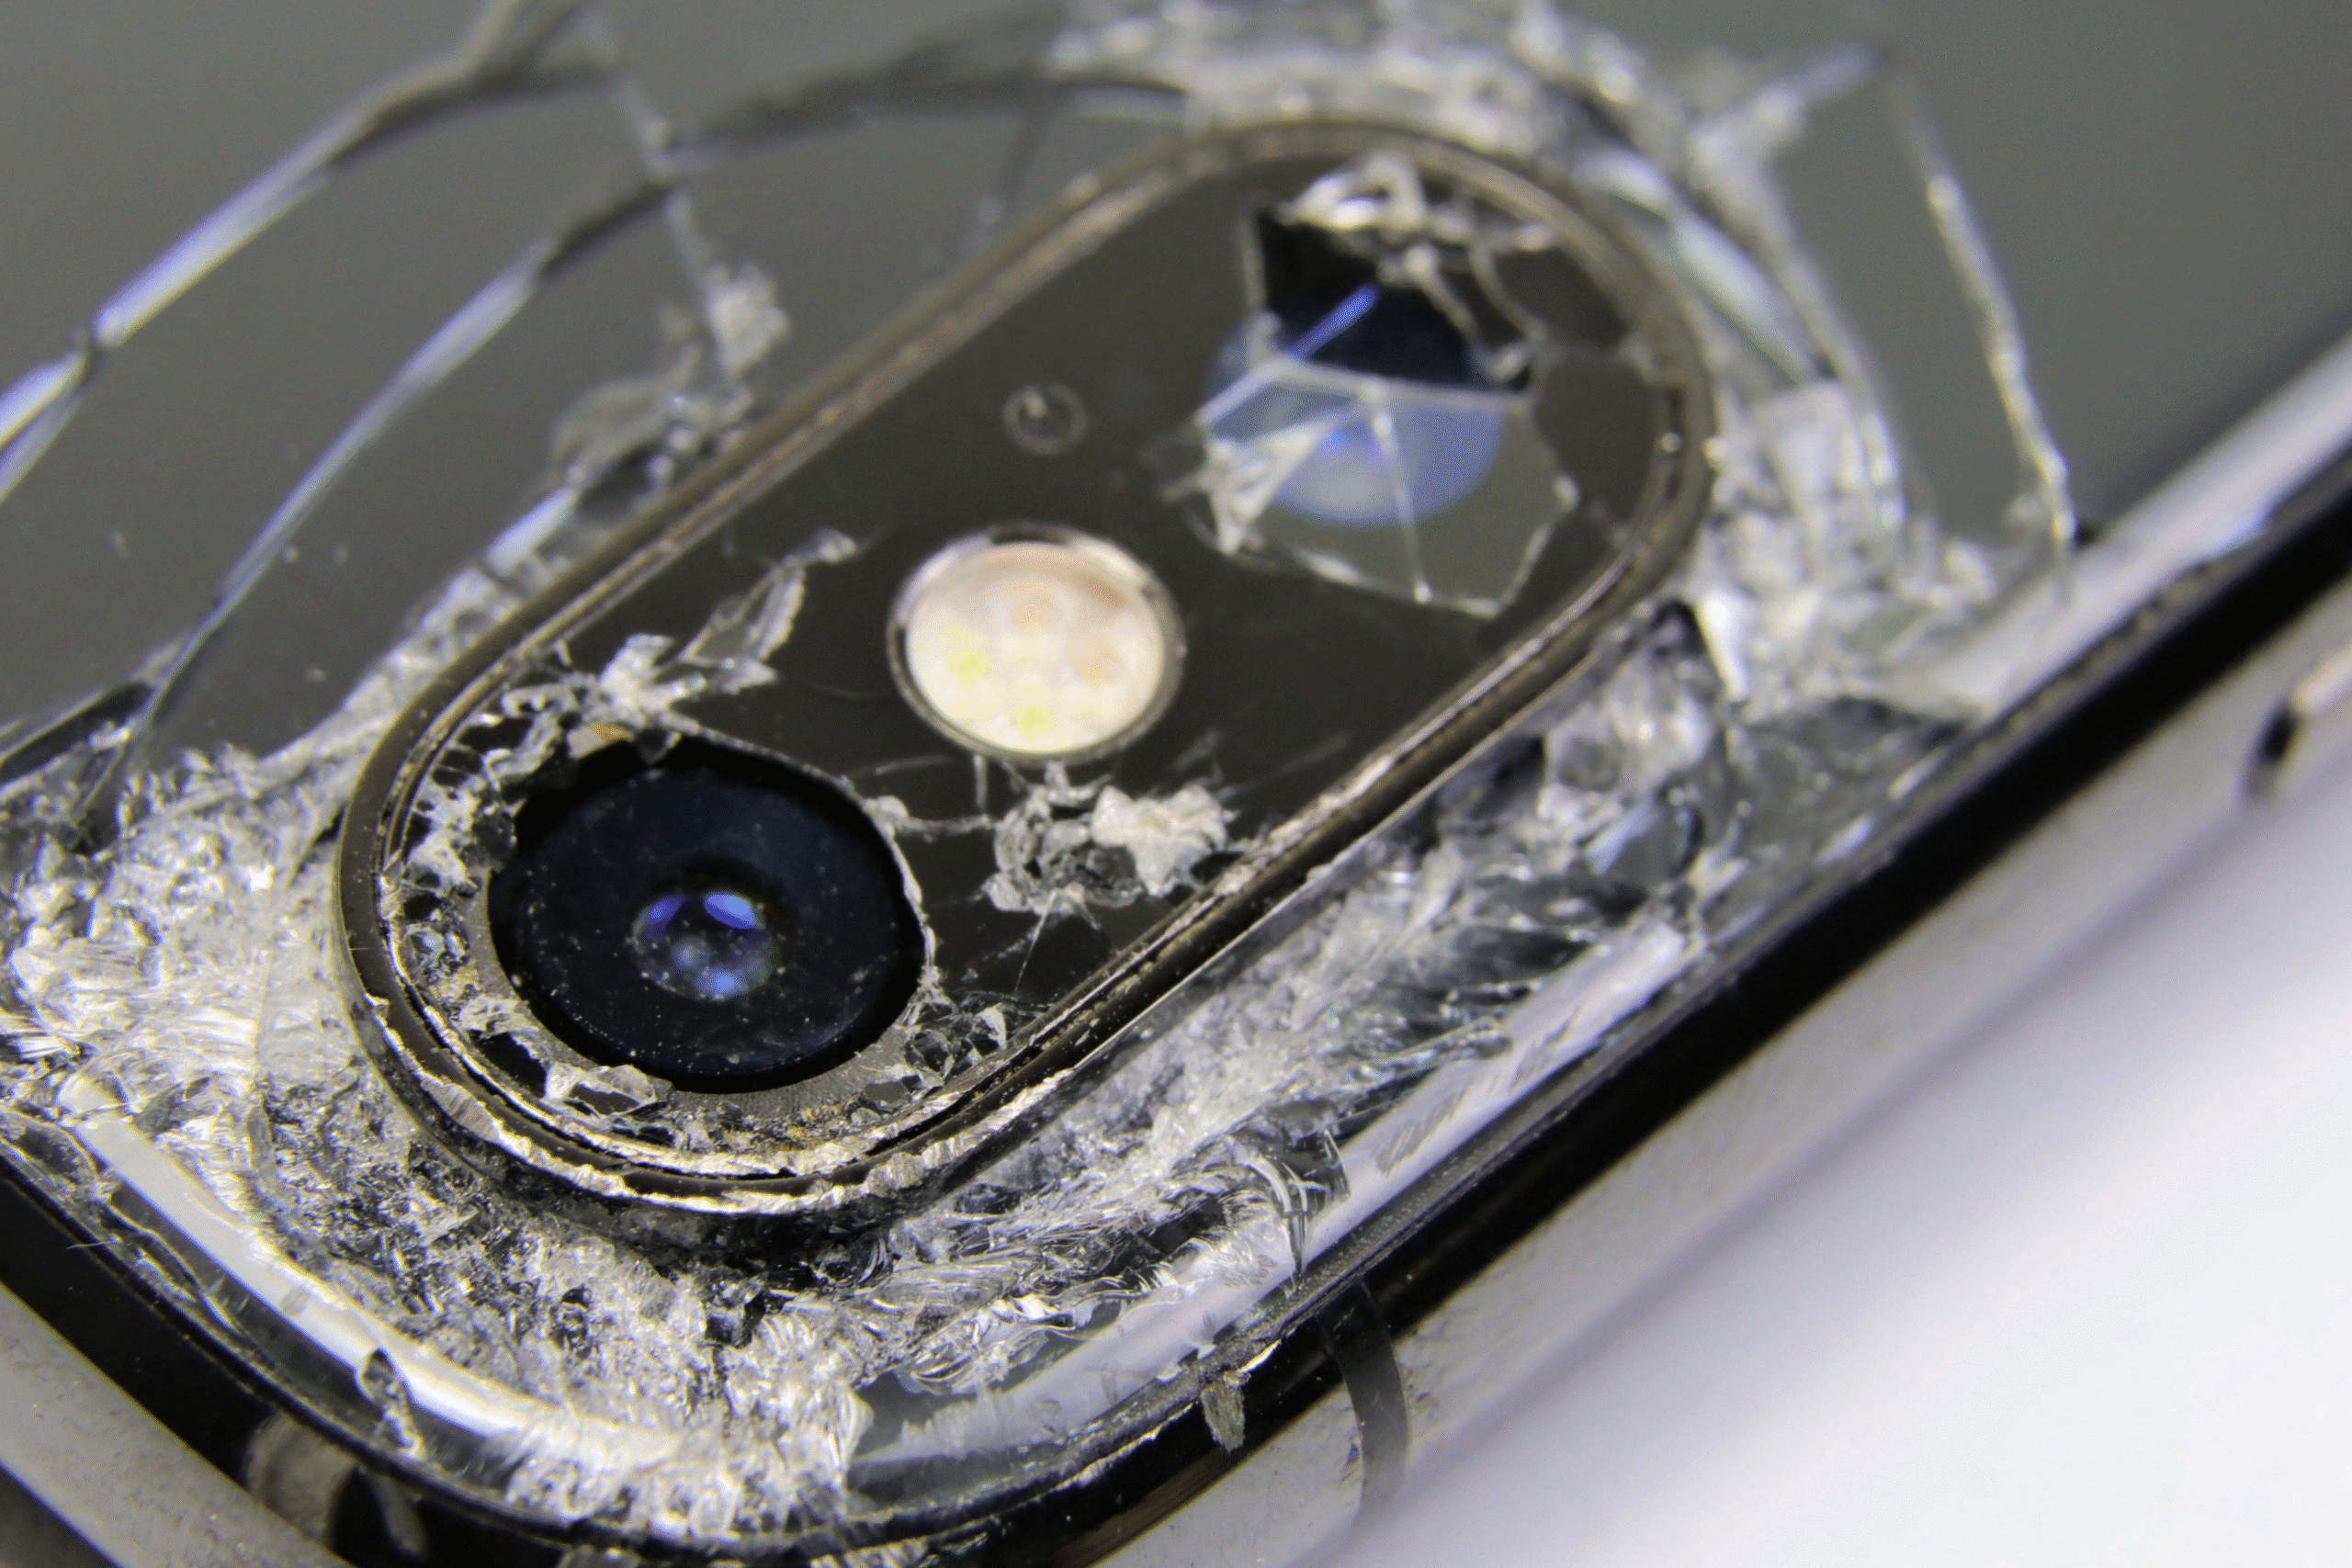
1. Identify the Type of Damage
Before trying any fix, take a close look at what’s wrong with the lens. Common issues include:
- Minor scratches that blur images or reflect light oddly.
- Cracks or shattered glass that expose the internal camera.
- Dust or debris under the lens that affects focus and clarity.
If your photos only look slightly hazy, the damage might be superficial. But if your camera app shows black spots, won’t focus, or gives a completely blurry image, you may need professional help.
2. Try Safe Cleaning First
Sometimes what looks like a scratch might just be dirt or smudges.
Here’s how to clean your camera lens safely:
- Turn off your iPhone and remove any case or lens protector.
- Use a microfiber cloth slightly dampened with 70% isopropyl alcohol.
- Gently wipe the lens in circular motions.
- Avoid pressing too hard extra pressure can worsen cracks.
Once dry, open the camera app to see if the clarity improves. If it still looks cloudy, the glass might actually be scratched or cracked.
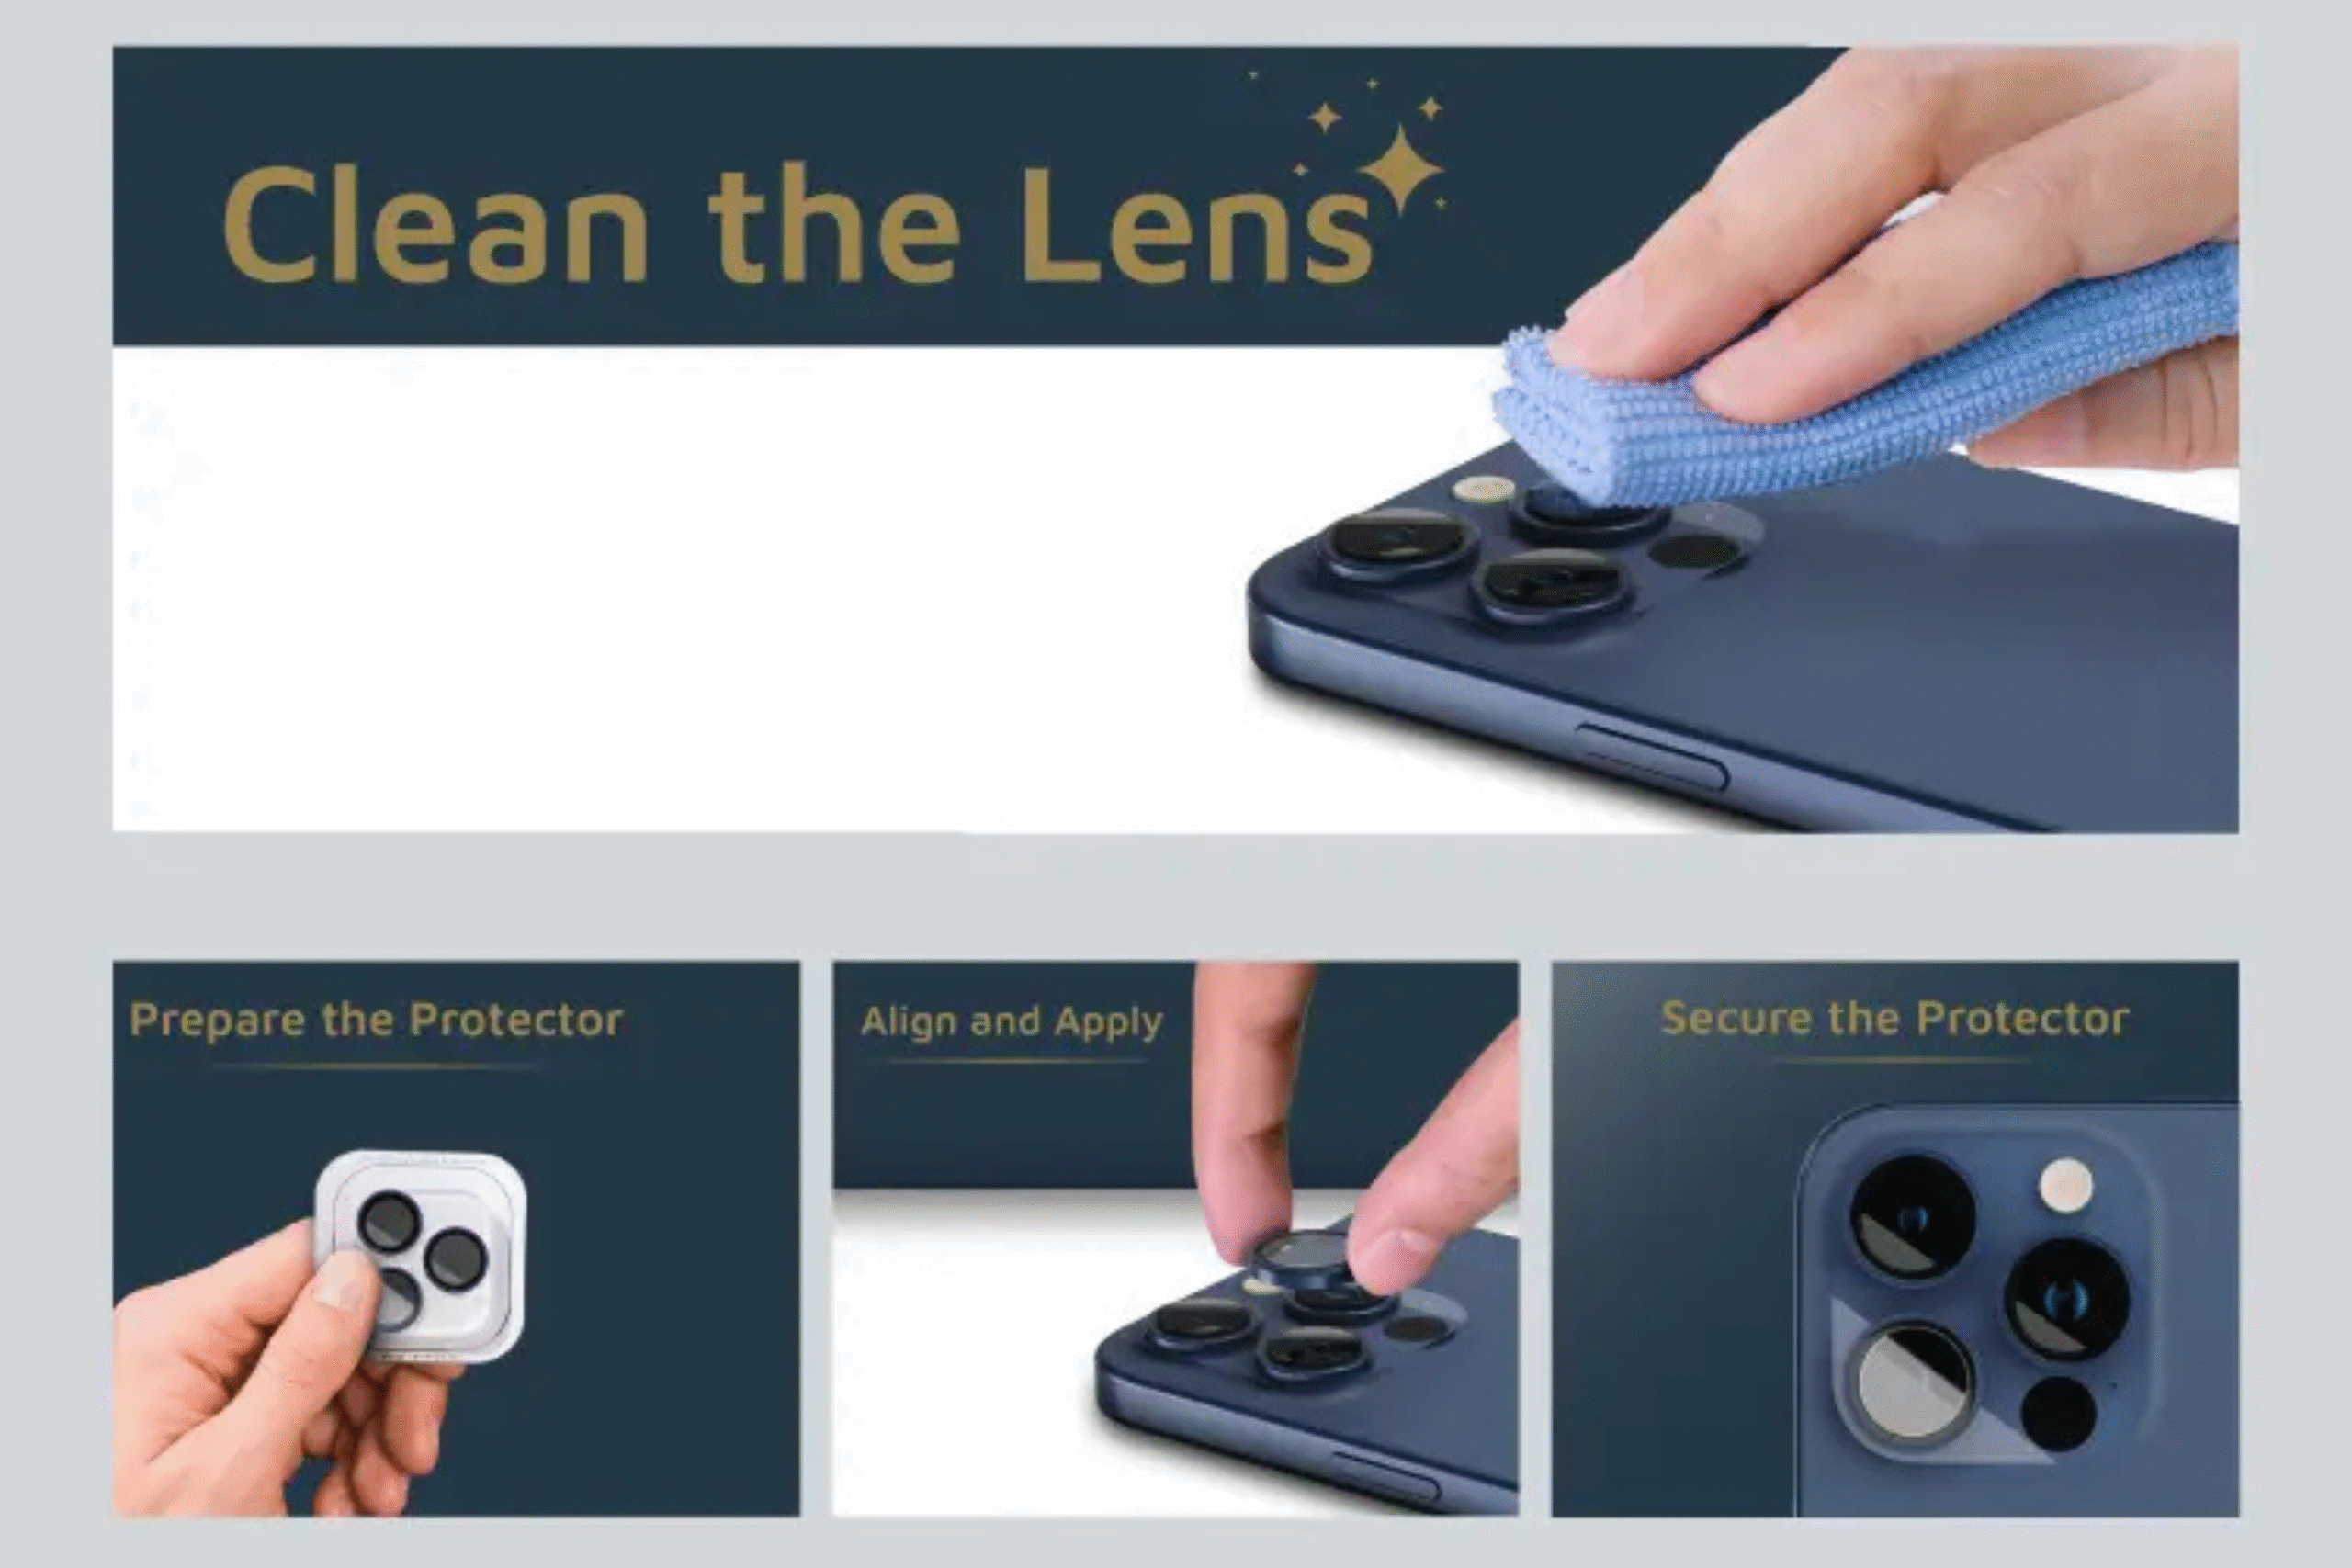
3. Use a Temporary Lens Protector
If your lens has a small crack but still functions, you can use a camera lens protector as a temporary fix.
These thin glass shields prevent further cracking and protect from dust or water entry. They’re available at most phone accessory shops or online.
Keep in mind that this is a temporary measure it won’t restore your camera’s original performance but can buy you time before professional repair.
4. Avoid DIY Lens Replacements
Some online tutorials suggest replacing the lens at home using repair kits. While it may look simple, iPhone camera components are delicate and tightly integrated.
DIY lens replacement can lead to:
- Damaged internal sensors.
- Dust trapped between layers.
- Voided warranties.
If your camera lens is deeply cracked or shattered, the safest approach is to have it replaced by a certified technician. Professional tools ensure dust-free installation and proper sealing to maintain waterproofing.
5. When to Visit a Repair Shop
If the crack is large, the image quality is severely affected, or your iPhone camera isn’t focusing at all, it’s time to get it fixed professionally.
For residents in Ontario, you can visit a local top rated phone repair store in Mississauga like Fix Phone Mississauga. Their technicians handle iPhone camera repairs daily whether it’s a lens replacement or internal cleaning.
Professional repair ensures:
- Genuine replacement parts.
- Proper calibration of your camera.
- Warranty on the repair service.
Trying to fix internal components yourself can turn a minor issue into a costly problem. That’s why getting expert help is the smartest and most reliable choice.
6. Preventing Future Damage
Once your iPhone camera is fixed, a few small habits can keep it protected:
- Always use a camera lens protector or rugged case.
- Avoid putting your phone in pockets with keys or coins.
- Clean the lens gently every few days with a microfiber cloth.
- Keep your phone away from sandy or dusty environments.
These precautions can extend your camera’s life and prevent the same issue from happening again.
A broken iPhone camera lens doesn’t always mean you need a new phone.
Start with gentle cleaning and inspection. If the issue remains, don’t risk further damage visit a trusted iPhone repair Mississauga technician to get your camera working like new.
