Upgrading to a new iPhone is exciting, but moving your data safely is what really matters. Photos, contacts, messages, apps, and settings should transfer without errors or data loss. This guide walks you through safe, simple home methods first. If something goes wrong, professional help is always the smarter next step.
Step 1: Prepare Both iPhones Before Transferring
Before starting any transfer, preparation avoids most common issues.
- Fully charge both iPhones or keep them plugged in
- Update both devices to the latest iOS version
- Connect to a strong, stable Wi-Fi network
- Make sure you know your Apple ID and password
If your old iPhone has a cracked screen, touch issues, or random restarts, the transfer may fail. In that case, visiting a Phone repair Mississauga shop before attempting data transfer can save time and frustration.
Step 2: Use Quick Start (Best and Fastest Method)
Apple’s Quick Start is the easiest and safest way to transfer data.
- Turn on your new iPhone and place it near your old one
- A Quick Start screen appears on the old phone
- Confirm Apple ID and follow on-screen instructions
- Use Face ID or Touch ID to authenticate
- Choose “Transfer Directly From iPhone”
Keep both phones close and unlocked during the entire process. Depending on data size, this may take 15 minutes to over an hour.
If Quick Start freezes or fails repeatedly, it often indicates software bugs or internal hardware issues that should be checked by Iphone repair Mississauga professionals.
Step 3: Transfer Data Using iCloud Backup
If Quick Start is not working, iCloud is a reliable alternative.
On your old iPhone:
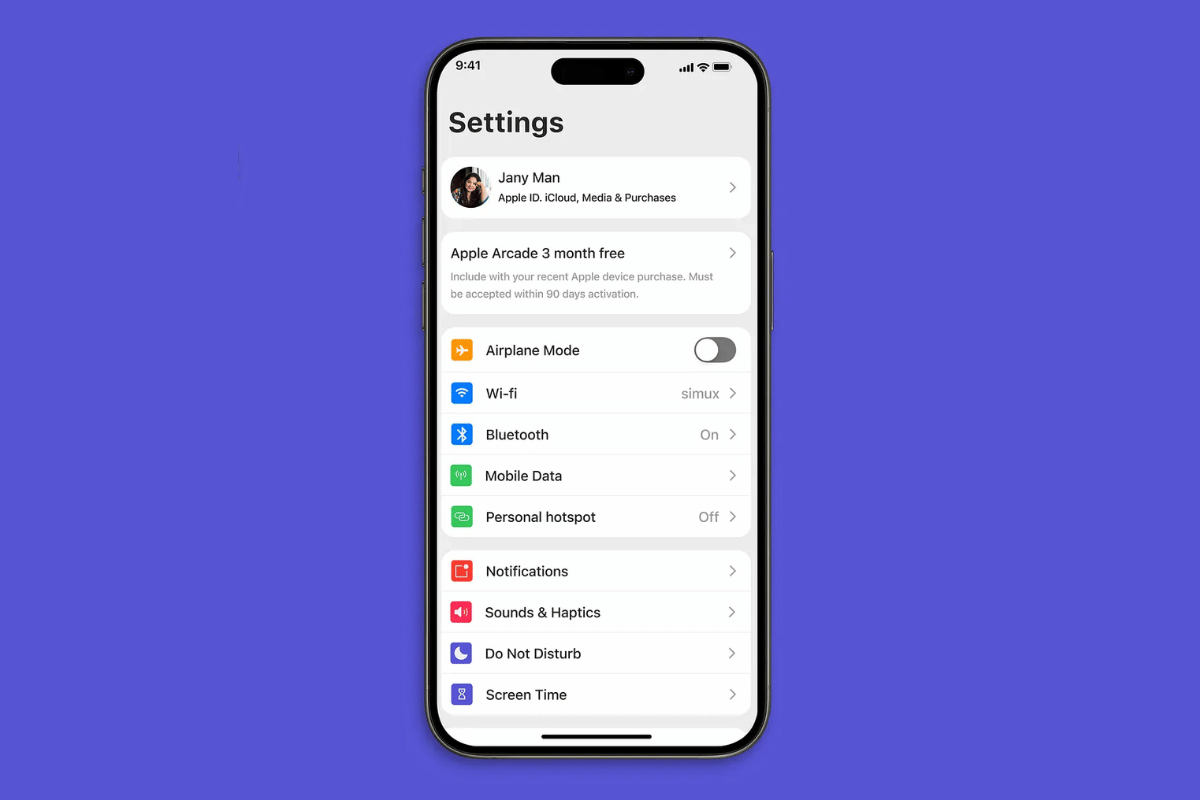
- Go to Settings
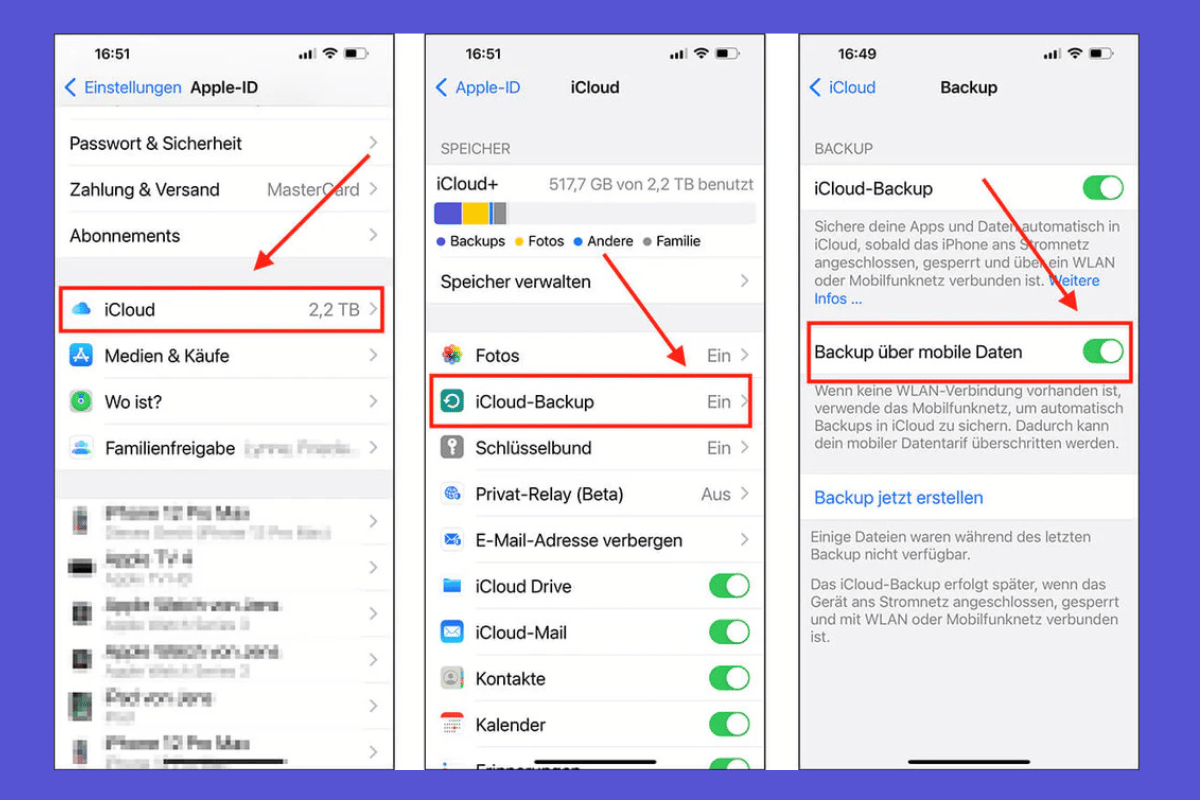
- Tap your Apple ID
- Select iCloud → iCloud Backup
- Tap Back Up Now
On your new iPhone:
- Start setup
- Choose “Restore from iCloud Backup”
- Sign in with your Apple ID
- Select the most recent backup
This method depends heavily on internet speed and iCloud storage availability. Large photo libraries may take several hours to complete.
Step 4: Use a Computer (Mac or Windows)
A wired transfer is often more stable than wireless options.
- Connect your old iPhone to a Mac or PC
- Open Finder (Mac) or iTunes (Windows)
- Select “Back Up Now”
- Disconnect and connect your new iPhone
- Choose “Restore from Backup”
This method is ideal if Wi-Fi is unreliable or iCloud storage is full.
Step 5: What to Do If Transfer Fails
If your data transfer keeps failing, look for these signs:
- Phone overheating during transfer
- Screen not responding properly
- Phone stuck on Apple logo
- Storage not reading correctly
These are often hardware-related issues. Attempting repeated transfers can make things worse. A certified technician can diagnose the problem safely without risking your data.
When to Visit a Professional Repair Shop
If your iPhone has water damage, screen issues, battery problems, or keeps disconnecting during transfer, home fixes may not work. At Fix Phone Mississauga, trained technicians can stabilize your device and help complete the transfer securely.
Instead of risking permanent data loss, let a trusted Iphone repair Mississauga shop handle the issue professionally.
Always confirm your data has transferred successfully before resetting or selling your old iPhone. If you need hands-on help, Fix Phone Mississauga is ready to assist with safe data transfers and reliable phone repairs.
