
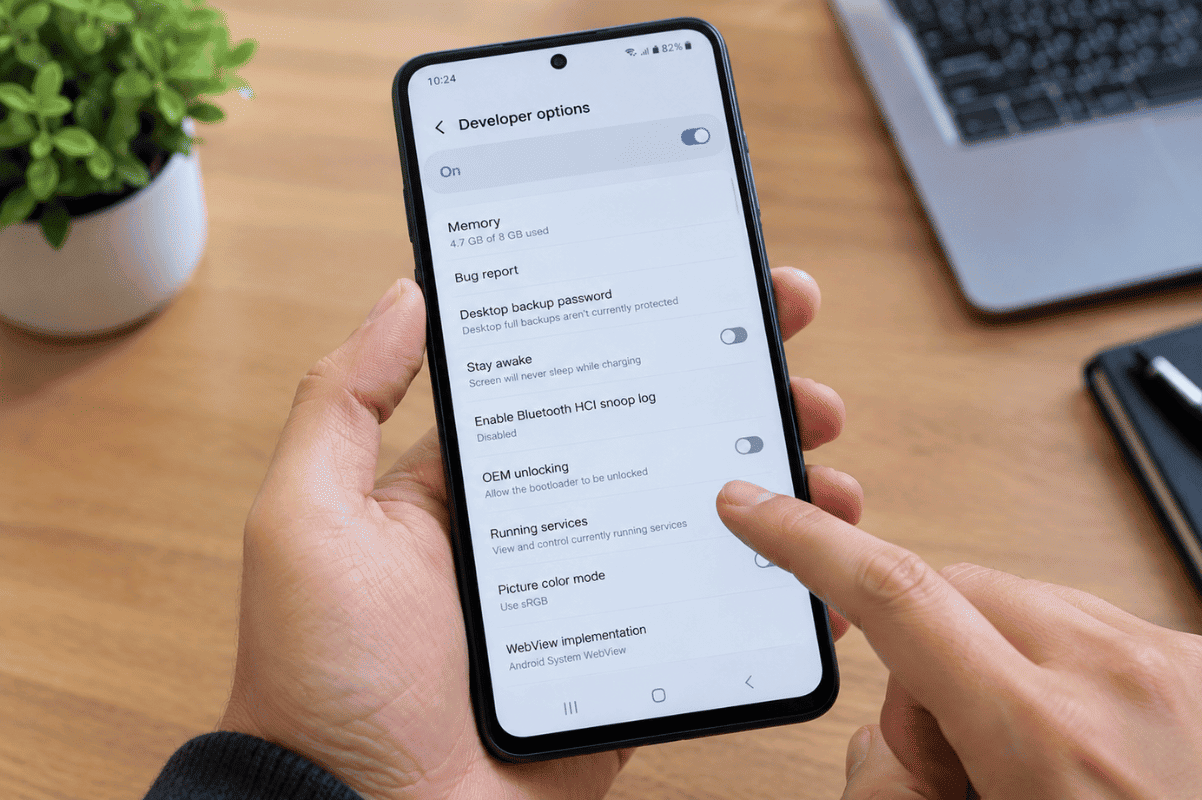
Android includes a hidden settings menu called Developer options. It provides advanced controls for debugging, USB connections, animation settings, and other system behaviors. Most everyday users do not need these settings, but they can be useful when troubleshooting a phone or working with Android development tools.
If you are trying to enable Developer options for a specific task, you can usually do it yourself in a few minutes. The exact menu location can vary between brands and Android versions.
What Are Developer Options on Android?
Developer options are advanced system settings designed mainly for developers and troubleshooting. They can include options for USB debugging, visual feedback, background processes, animation scales, and other device behaviors.
You do not need Developer options for normal activities such as calling, texting, browsing, or installing apps.
Before changing an option, make sure you understand what it does. Some settings can affect how your phone behaves.
How to Enable Developer Options
The general process is similar on many Android phones.

Step 1: Open Settings
Open the Settings app on your Android phone.
Step 2: Find About Phone
Look for About phone. Depending on the manufacturer, this may appear directly in Settings or under another section such as System.
Step 3: Locate Build Number
Find Build number and tap it seven times.
Android’s official documentation confirms that tapping Build number seven times enables Developer options on Android versions where the menu is not already available.
Some phones may ask you to enter your PIN, password, or pattern before allowing the change.
Step 4: Look for the Confirmation Message
After the required taps, you should see a message confirming that you are now a developer.
Step 5: Open Developer Options
Return to the main Settings menu and look for Developer options.
On some phones, you may find it under:
Settings > System > Developer options
The location is not identical across every Android manufacturer. Google lists different Build number locations for devices such as Pixel, Samsung, LG, HTC, and OnePlus.
How to Enable USB Debugging
If you need Developer options for connecting your phone to a computer, you may also need USB debugging.
Open:
Settings > Developer options > USB debugging
Turn USB debugging on only when you need it for a specific task. Android’s developer documentation identifies USB debugging as one of the functions available through Developer options for connecting a device to development tools.
If your goal is simply to transfer photos, charge your phone, or connect Bluetooth devices, you generally do not need USB debugging.
Developer Options Are Missing: What to Check
If you cannot find Developer options after tapping Build number, try these checks:
Search Settings
Use the search bar inside Settings and type Developer options.
Confirm You Tapped Build Number
Go back to About phone and tap the correct Build number entry seven times. Some manufacturers place it inside Software information.
Check Your Phone Brand
The menu path can differ between Samsung Galaxy, Google Pixel, Motorola, OnePlus, and other Android phones.
Restart the Phone
If the menu does not appear after completing the steps, restart the phone and search Settings again.
Should You Change Other Developer Settings?
Be careful when changing settings you do not recognize.
Developer options contain controls that can affect debugging, graphics, background processes, animations, and other system behavior. Changing several options at once can make it difficult to identify the cause if your phone starts behaving differently.
If you enabled Developer options because your phone has another problem, first try simpler troubleshooting steps such as restarting the device, installing available system updates, checking storage space, or reviewing the affected app.
How to Turn Off Developer Options
If you no longer need the feature, open Developer options and use the main switch at the top to turn the menu off. The exact behavior can vary by Android version and manufacturer.
Turning the menu off is a simple way to stop most developer settings from remaining active. However, if you previously changed individual settings, check them if your phone continues behaving differently.
When DIY Troubleshooting Does Not Solve the Problem
Enabling Developer options should not normally require professional assistance. The bigger issue is identifying what caused the original phone problem.
If your Android phone has charging problems, physical damage, a broken display, battery issues, or persistent software problems that basic troubleshooting does not resolve, professional cell phone repair can be the safer next step.
For physical damage or hardware faults, avoid changing unrelated Developer options in an attempt to fix the problem. A technician can diagnose whether the issue is software-related or requires hardware service.
Enabling Developer options on Android is usually straightforward: open Settings, find About phone, locate Build number, tap it seven times, and then open the new Developer options menu. The exact location can differ by phone manufacturer and Android version.
If you only need Developer options for a specific task, change the setting you need and avoid modifying options you do not understand. If basic troubleshooting does not solve a larger phone problem, professional Phone repair Mississauga can help identify whether the issue requires hardware or software service.