Switching from an Android phone to an iPhone does not mean you have to manually re-enter every contact. Whether your contacts are saved to your Google Account, Android phone storage, or SIM card, there are several practical ways to move them.
The easiest method depends on how your contacts are currently stored. In this guide, we’ll explain how to transfer contacts from Android to iPhone using Apple’s Move to iOS app, Google Contacts, a VCF file, and a SIM card.
Before You Transfer Your Contacts
Before starting, take a few minutes to check where your Android contacts are stored.
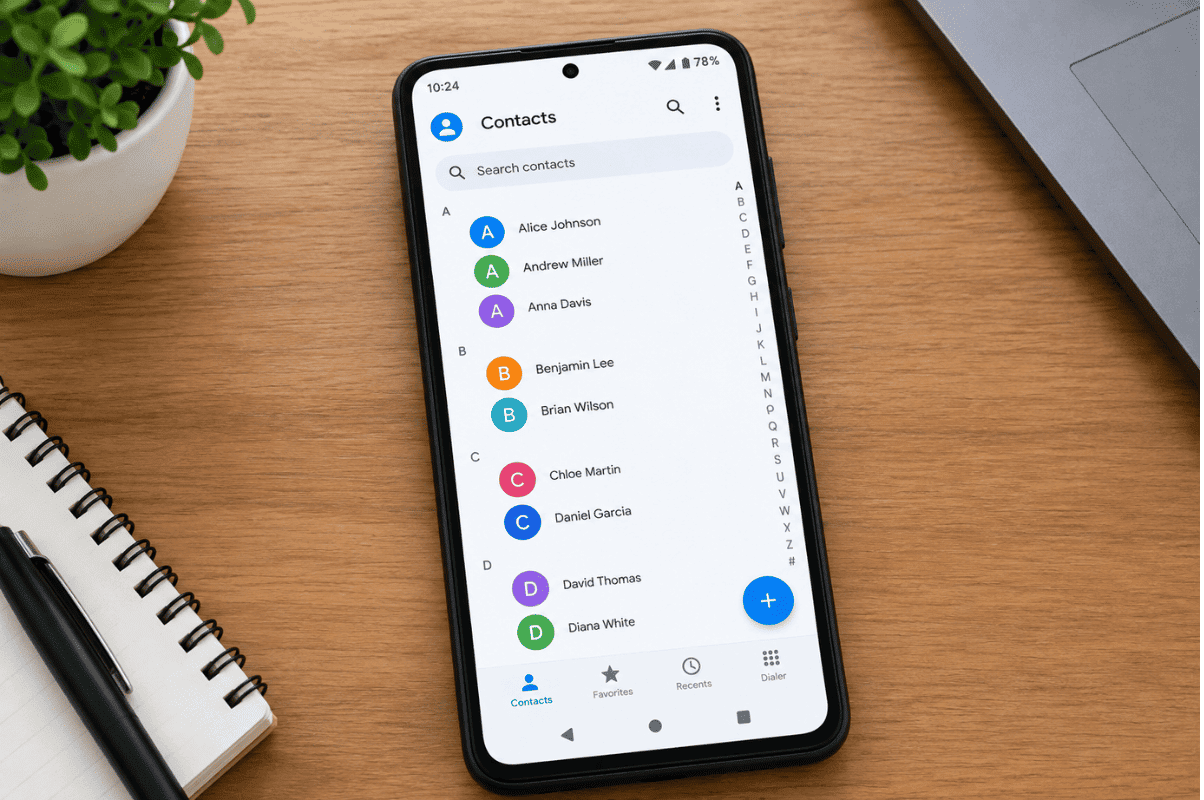
Open the Contacts app on your Android phone and check whether your contacts are saved to:
- Your Google Account
- Phone or device storage
- SIM card
- Another account such as Microsoft or Yahoo
It is also a good idea to charge both phones and connect them to Wi-Fi before starting the transfer.
If your contacts are stored in your Google Account, they can sync to your iPhone without needing to manually copy each contact.
Method 1: Transfer Contacts with Move to iOS
If you are setting up a new iPhone, Apple’s Move to iOS process is one of the most convenient options.
Step 1: Start Setting Up Your iPhone
Turn on your new iPhone and follow the setup instructions.
When you reach the Transfer Your Apps & Data screen, select From Android.
If you have already completed iPhone setup, Apple’s Move to iOS transfer process may require you to erase the iPhone and start the setup again. If you do not want to erase your iPhone, use one of the manual methods below.
Step 2: Open Move to iOS on Android
Install and open the Move to iOS app on your Android phone.
Follow the instructions shown on the screen and allow the requested permissions.
Step 3: Enter the Code
Your iPhone will display a temporary six-digit or ten-digit code.
Enter this code on your Android phone.
The iPhone will create a temporary Wi-Fi connection for the transfer.
Step 4: Select Contacts
When the data selection screen appears, select Contacts.
You can select additional supported data if needed. Keep both phones close together and connected to power until the transfer finishes.
Apple specifically recommends leaving the devices alone until the progress bar on the iPhone has completed.
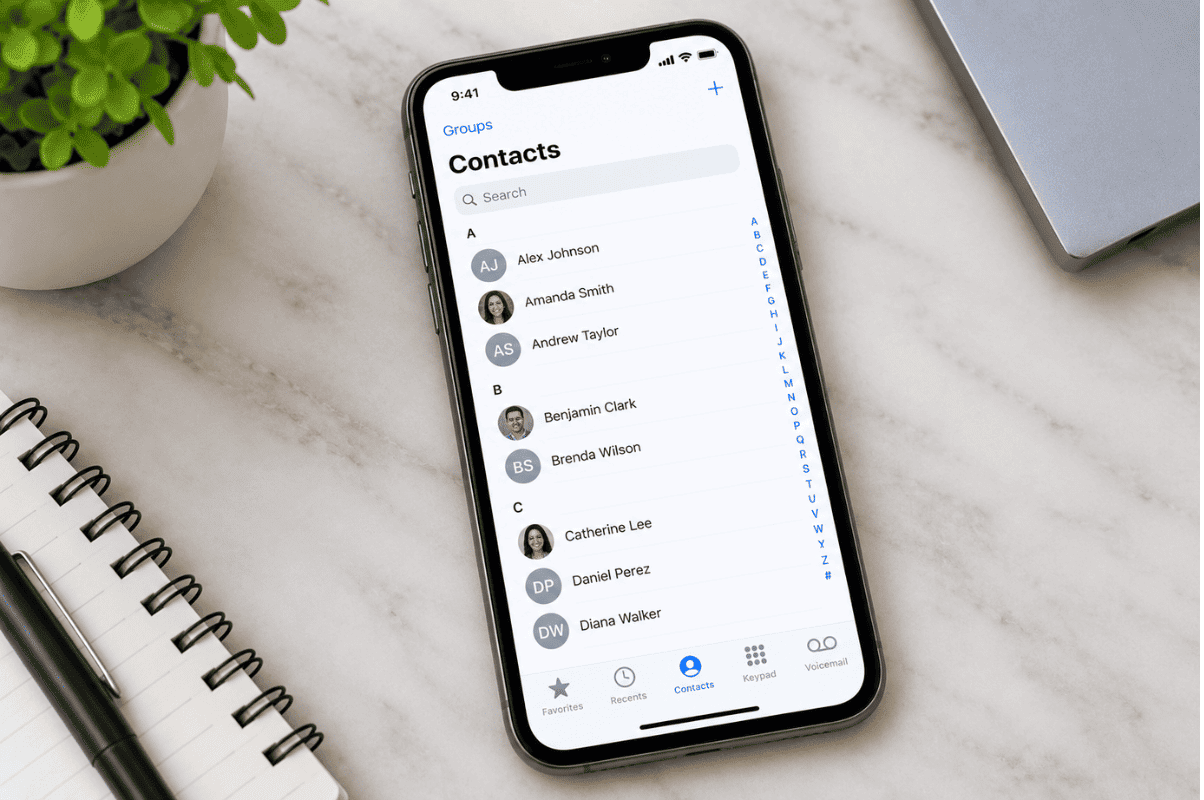
Method 2: Sync Google Contacts to Your iPhone
This method is useful if most of your contacts are already saved to Google.
On your iPhone:
- Open Settings.
- Tap Contacts.
- Select Add Account.
- Choose Google.
- Sign in with the same Google Account used on your Android phone.
- Turn on Contacts.
- Tap Save.
- Open the Contacts app.
Your Google contacts should then sync with the iPhone.
This can be especially useful if you have already been using Gmail or Google Contacts to manage your phone numbers.
Method 3: Export Android Contacts as a VCF File
If your contacts are stored locally on your Android phone, you can export them as a VCF file.
Open the Contacts app and look for:
Menu or Settings → Export → Export to .VCF file
The exact menu names can vary between Android manufacturers and software versions. Google confirms that Android Contacts can be exported to a VCF file.
Once you have the file, you can transfer it to another device or account and import the contacts.
This method is useful when your contacts are not already synchronized with Google.
Method 4: Import Contacts from a SIM Card
If your contacts are actually stored on your SIM card, you may be able to import them directly into the iPhone.
Insert the SIM containing your contacts into the iPhone, then go to:
Settings → Apps → Contacts → Import SIM Contacts
Select where you want the imported contacts to be saved and wait for the process to finish.
Apple notes that the contacts available for import depend on how they were stored on the SIM card.
What If Some Contacts Are Missing?
If only some contacts appear after the transfer, check the original Android phone before deleting or resetting it.
Look for contacts stored under:
- Device storage
- SIM card
- Google Account
- Microsoft or other email accounts
Some Android phones keep contacts in device storage instead of automatically saving them to Google. Google recommends backing up device and SIM contacts to a Google Account when appropriate.
Also check whether duplicate contacts have been created. You may need to organize your contacts after completing the transfer.
When DIY Transfer Does Not Work
Most contact transfers can be completed at home, but problems can occur when an Android phone has damaged storage, a malfunctioning screen, account-sync problems, or software issues.
If you cannot access your contacts or the phone does not respond properly, avoid repeatedly resetting the device. You could make recovery more difficult.
For persistent transfer or device problems, professional cell phone repair assistance can help identify whether the issue is related to the phone, storage, software, or account synchronization.
If you are in Mississauga and need help with a damaged or malfunctioning device, professional phone repair Mississauga services can be an option when basic troubleshooting does not solve the problem.
Final Checklist
Before you erase or sell your Android phone, confirm that:
- All important contacts appear on your iPhone.
- Contact names and phone numbers are correct.
- Google Contacts synchronization is working if you use it.
- SIM contacts have been imported if necessary.
- Important contacts are backed up.
- You can make and receive calls from the transferred contacts.
Once everything is confirmed, you can safely prepare your old Android phone for its next use.
Learning how to transfer contacts from Android to iPhone is usually straightforward when you first identify where your contacts are stored. For a new iPhone, Move to iOS provides a convenient transfer option. Google synchronization is useful for contacts already saved to your Google Account, while VCF files and SIM imports provide alternatives for contacts stored elsewhere.
Always verify your contacts on the iPhone before resetting or giving away your old Android phone.